Right-click the Windows Start button in the bottom-left corner of your screen, then select Settings.
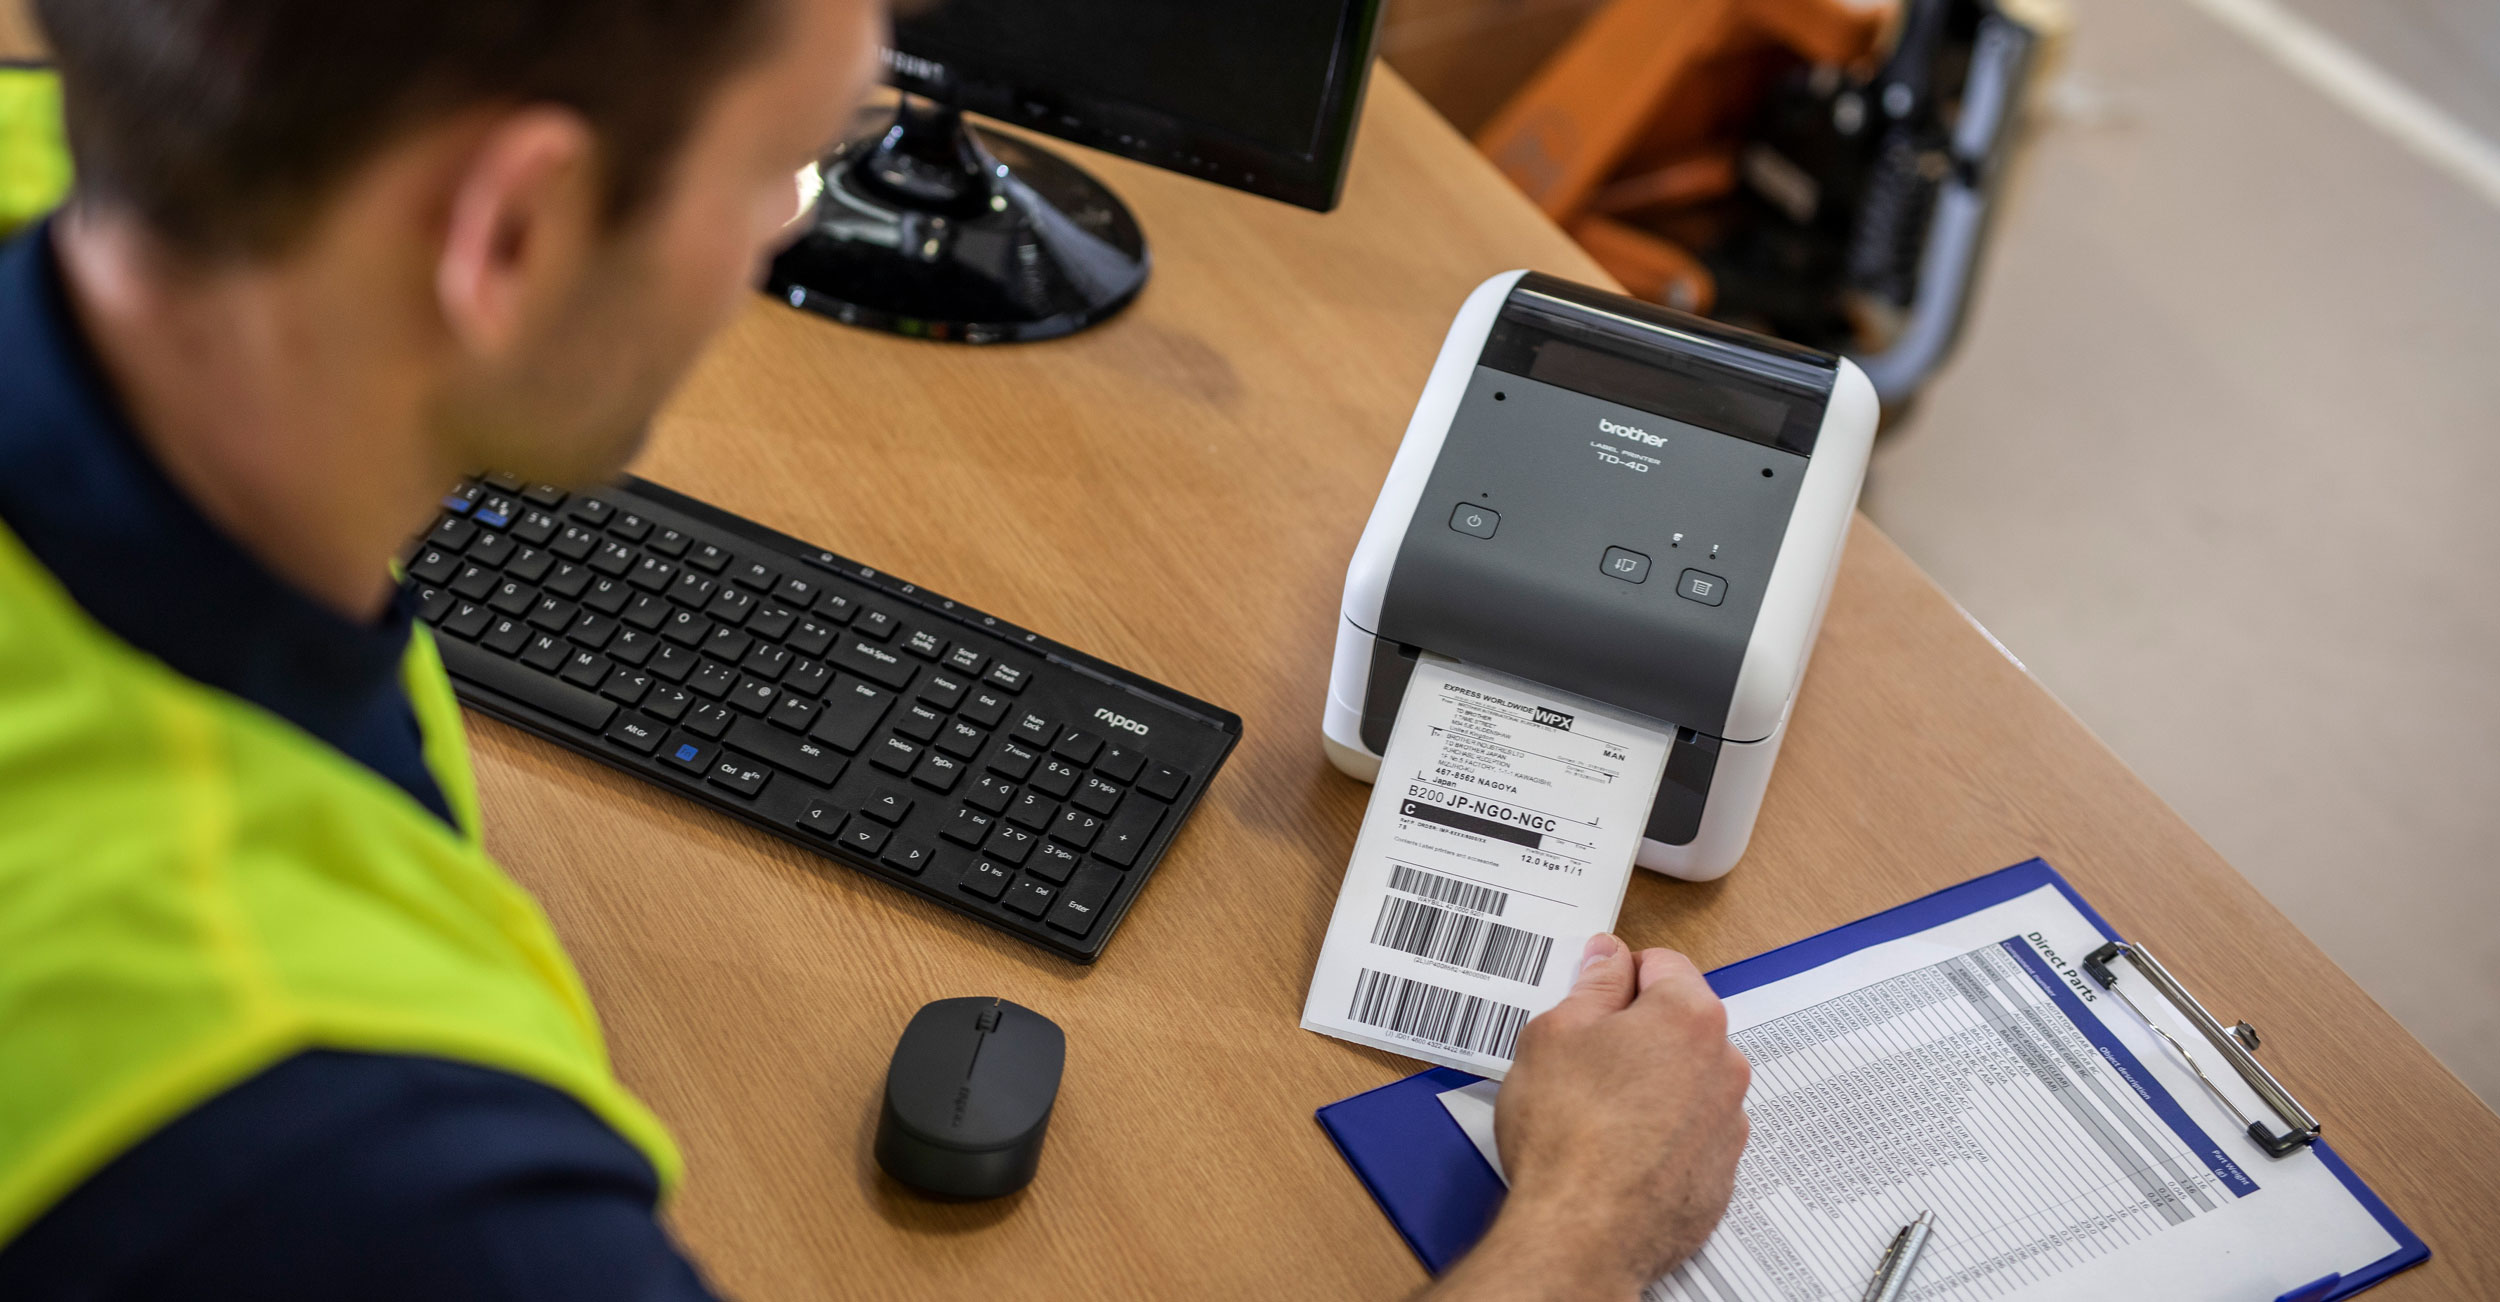
Set up your brother label printer driver to correctly print a courier label size.
Right-click the Windows Start button in the bottom-left corner of your screen, then select Settings.
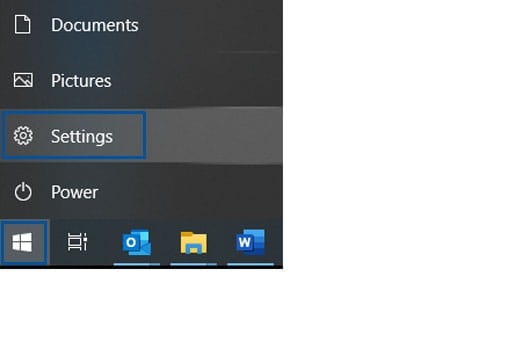
In the Settings window, select Devices.

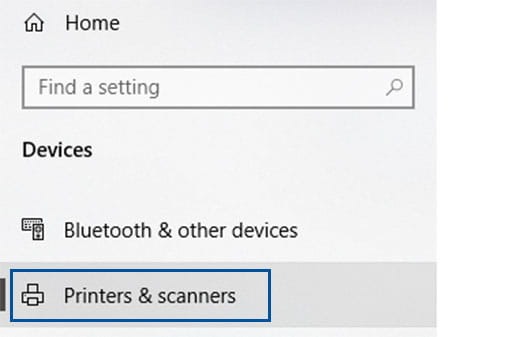
Click Printers & Scanners from the menu.
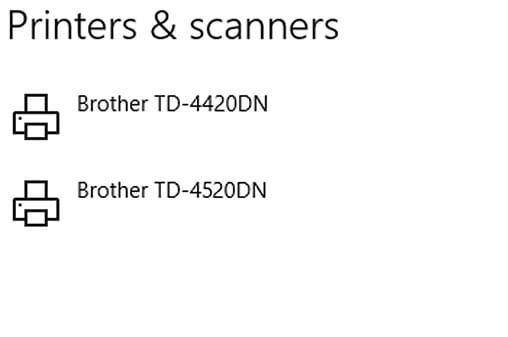
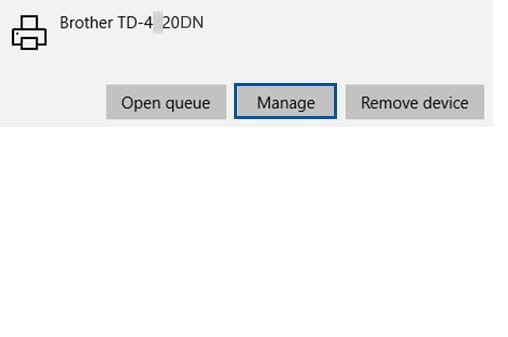
Select your Brother Label Printer
Click Manage.
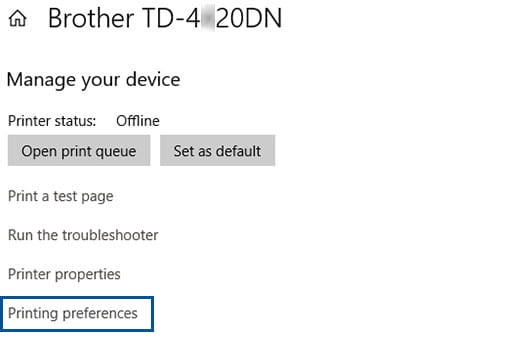
Click on Printing Preferences.
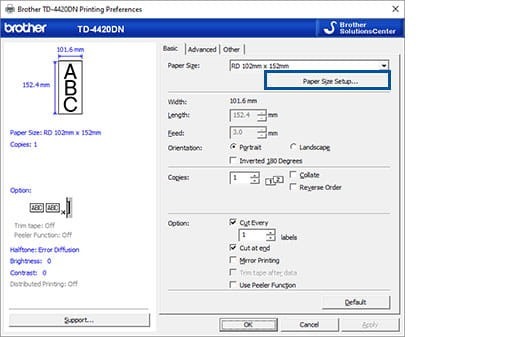
Click Paper Size Setup.
If prompted with a security message asking, “Do you want to allow this app to make changes to your device?”, click Yes.
Select New.
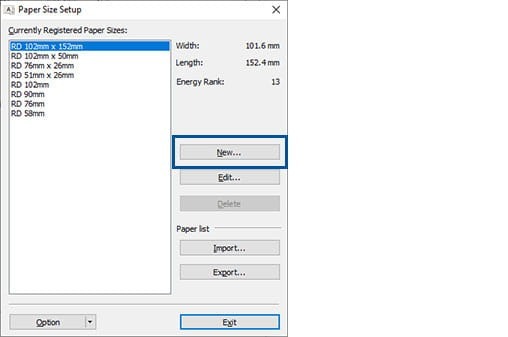
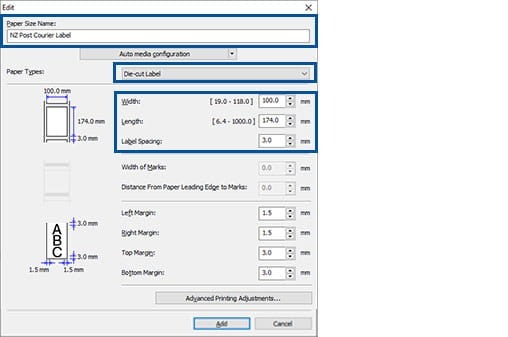
Enter the following paper size details:
Paper Size Name: NZ Post Courier Label
Paper Type: Die-cut Label
Width: 100 mm
Length: 174 mm
Label Spacing: 3.0 mm
Once completed, click Add.
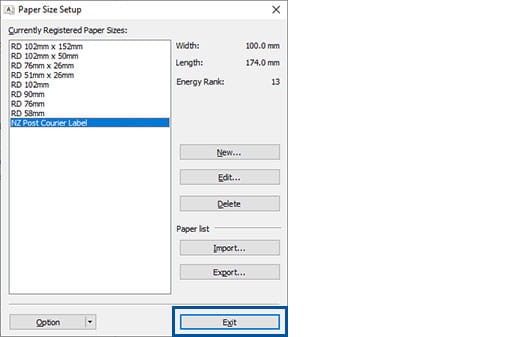
The custom paper size “NZ Post Courier Label” will now appear in the list. Click Exit
Configuration complete.
Your Brother printer driver is now configured for courier label printing.
If you experience any issues, please contact Brother Helpdesk on 0800 329 111 for further assistance.
